Introduction
Cool Record Edit Pro can be used to record any sound from microphone, line-in, streaming audio from Internet or music played by media player software and so on. The recording process will be finished with a few clicks. This tutorial will show you How to Record Audio with Cool Record Edit Pro.
Step 1. Activate Audio Recorder
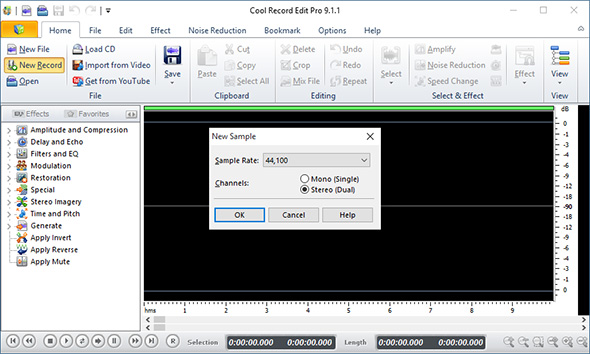
Once Cool Record Edit Pro is launched, click “New Record” and in the activated window, you need to choose the sample rate and channel for the recording and then click “OK”.

Step 2. Select Recording Source
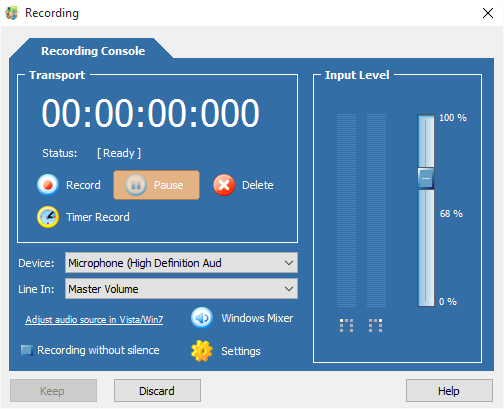
Choose the sound card and recording source you need. You are allowed to record from any sources like LP’s, stereo, microphone, etc. Line in is for the sound coming from cassettes, tapes, CD/DVD player; Stereo Mix is for online music, web radio or any sound played in your computer; Microphone is for the sound from microphone.

Step 3. Specify Recording Settings
If needed, you can start and stop audio recording at the time you specified with “Timer Record”. To escape the silent part especially when recording web radio, check “Record without Silence”.

Step 4. Start Recording
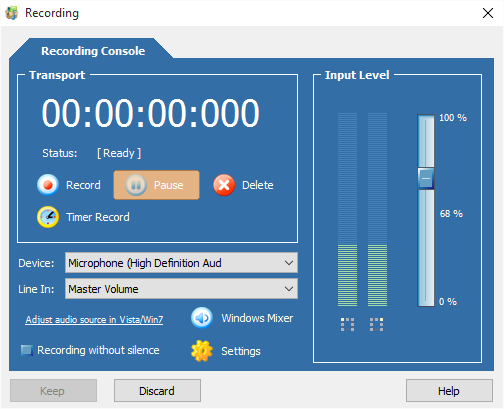
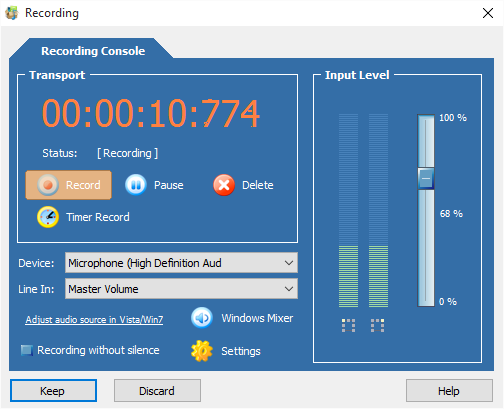
When everything is settled, play the sound you want to record. Then the wave variations of the volume will be shown at the right side. To adjust the volume, just drag the slider of the volume bar. Now, hit “Record” button to start recording. When the recording is finished, click “Pause” and then“Keep”. You will find the recorded music shown in the window of Audio Editor, click “Save” – “Save File As…” to save the recording to a specified folder. That’s how to record audio in a few easy steps.

