Introduction
Cool Record Edit Deluxe allows you to visually edit any part of the audio file with various operations such as cut, copy, delete, paste, etc. This post will be focusing on How to Edit Audio Files with Cool Record Edit Deluxe.
How to Edit Audio Files
Step 1. Input Audio
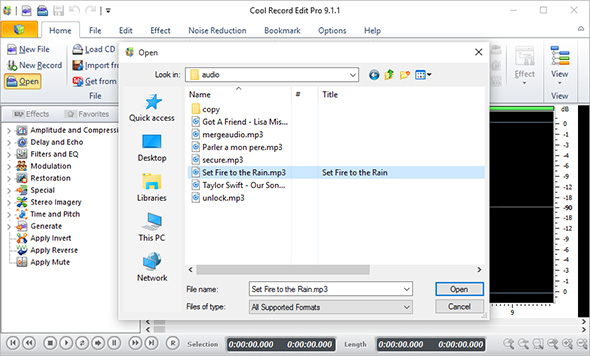
Click “Open” and in the activated window, choose an audio file you want to edit and then click “Open”. You will see the audio file showing in wave form in the program window.

Step 2. Select a Part to Edit
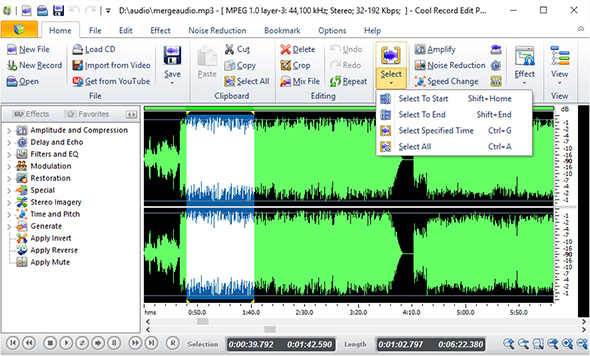
To edit a certain part of the audio, you are allowed to select the audio part in the following ways: click anywhere of the waveform and use hotkeys like Shift+Home, Shift+End or Ctrl+A to select from the beginning position to the current position/the current position to the end/the whole file; left click the waveform and drag along with the waveform to the place as the end; use the sliders below the waveform; input the time of start, end and length.

Step 3. Edit the Selection
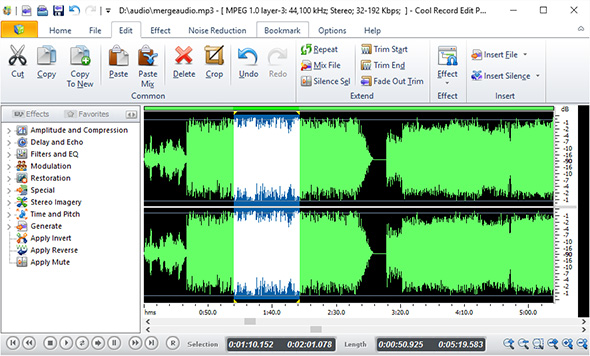
Switch to “Edit” tab and the selected audio can be edited in multiple ways: cut, copy to clipboard/a new file, paste, paste mix, crop, delete and more. To restore any wrong operations, use “Undo” or “Redo”.

Step 4. Save Changes
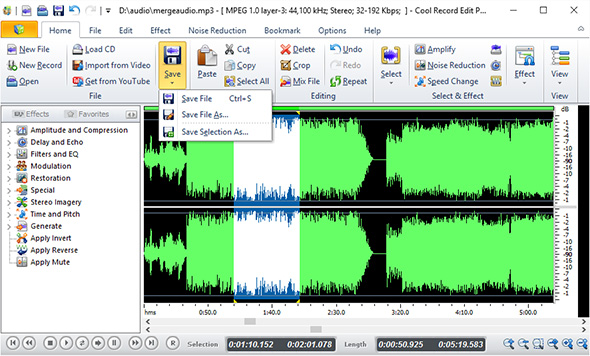
When the editing is complete, you can save the audio by clicking “File” tab – “Save”: “Save File” is to save to the original file; “Save File As” is to save to a specified folder; “Save Selection As” is to save just the edited audio part to a folder specified.

